🌐 Starting with OpenAI-Compatible Servers
Overview
Open WebUI isn't just for OpenAI/Ollama/Llama.cpp—you can connect any server that implements the OpenAI-compatible API, running locally or remotely. This is perfect if you want to run different language models, or if you already have a favorite backend or ecosystem. This guide will show you how to:
- Set up an OpenAI-compatible server (with a few popular options)
- Connect it to Open WebUI
- Start chatting right away
Step 1: Choose an OpenAI-Compatible Server
There are many servers and tools that expose an OpenAI-compatible API. Here are some of the most popular:
- Llama.cpp: Extremely efficient, runs on CPU and GPU
- Ollama: Super user-friendly and cross-platform
- LM Studio: Rich desktop app for Windows/Mac/Linux
- Lemonade (ONNX TurnkeyML): Fast ONNX-based backend with NPU/iGPU acceleration
Pick whichever suits your workflow!
🍋 Get Started with Lemonade (ONNX TurnkeyML)
Lemonade is a plug-and-play ONNX-based OpenAI-compatible server. Here’s how to try it on Windows:
-
Run
Lemonade_Server_Installer.exe -
Install and download a model using Lemonade’s installer
-
Once running, your API endpoint will be:
http://localhost:8000/api/v0
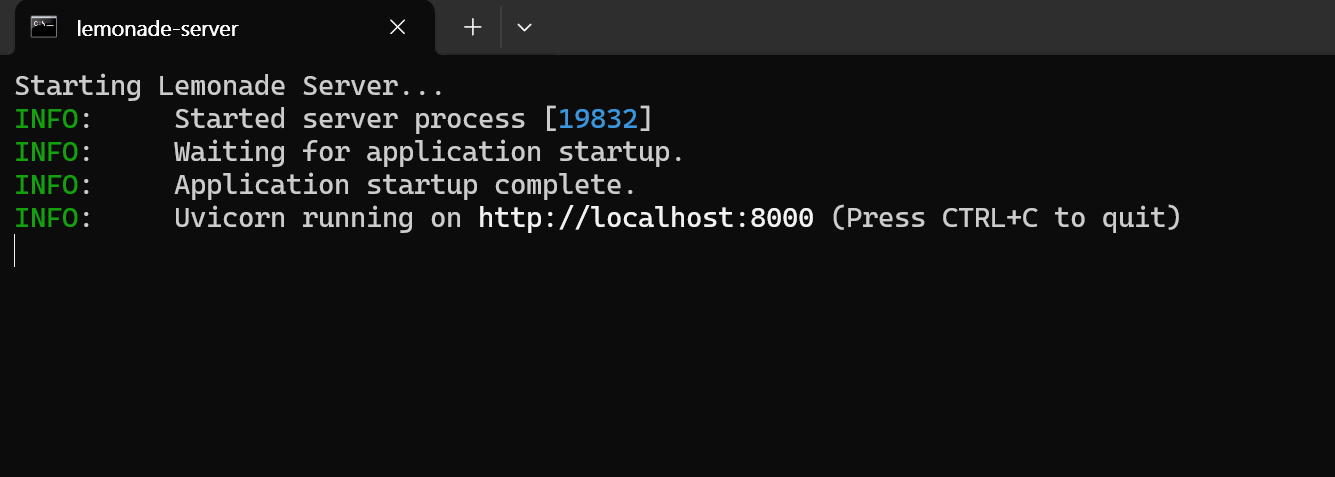
See their docs for details.
Step 2: Connect Your Server to Open WebUI
-
Open Open WebUI in your browser.
-
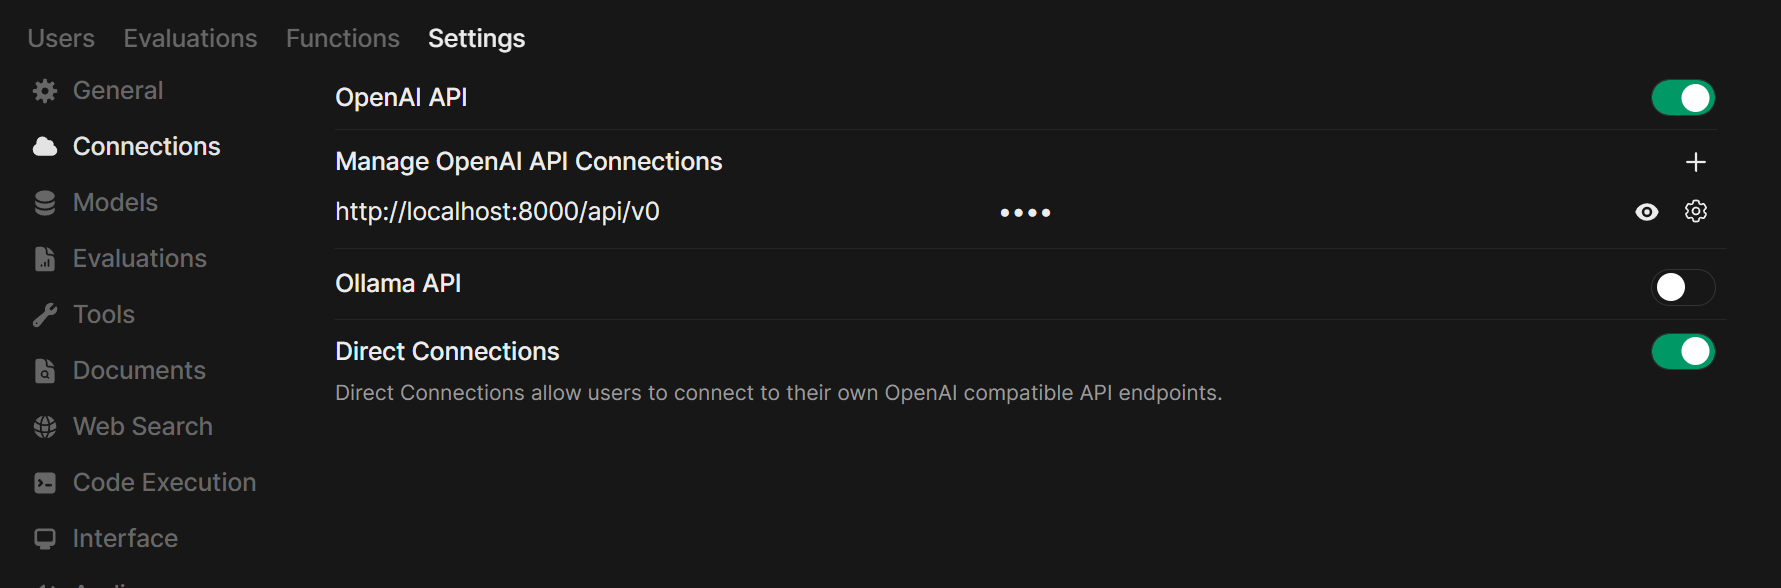
Go to ⚙️ Admin Settings → Connections → OpenAI Connections.
-
Click ➕ Add Connection.
- URL: Use your server’s API endpoint (for example,
http://localhost:11434/v1for Ollama, or your own Llama.cpp server’s address). - API Key: Leave blank unless required.
- URL: Use your server’s API endpoint (for example,
-
Click Save.
Tip: If running Open WebUI in Docker and your model server on your host machine, use http://host.docker.internal:<your-port>/v1.
For Lemonade: When adding Lemonade, use http://localhost:8000/api/v0 as the URL.
Step 3: Start Chatting!
Select your connected server’s model in the chat menu and get started!
That’s it! Whether you choose Llama.cpp, Ollama, LM Studio, or Lemonade, you can easily experiment and manage multiple model servers—all in Open WebUI.
🚀 Enjoy building your perfect local AI setup!