🤖 Starting With OpenAI
Overview
Open WebUI makes it easy to connect and use OpenAI and other OpenAI-compatible APIs. This guide will walk you through adding your API key, setting the correct endpoint, and selecting models — so you can start chatting right away.
Step 1: Get Your OpenAI API Key
To use OpenAI models (such as GPT-4 or o3-mini), you need an API key from a supported provider.
You can use:
- OpenAI directly (https://platform.openai.com/account/api-keys)
- Azure OpenAI
- Any OpenAI-compatible service (e.g., LocalAI, FastChat, Helicone, LiteLLM, OpenRouter etc.)
👉 Once you have the key, copy it and keep it handy.
For most OpenAI usage, the default API base URL is:
https://api.openai.com/v1
Other providers use different URLs — check your provider’s documentation.
Step 2: Add the API Connection in Open WebUI
Once Open WebUI is running:
-
Go to the ⚙️ Admin Settings.
-
Navigate to Connections > OpenAI > Manage (look for the wrench icon).
-
Click ➕ Add New Connection.
-
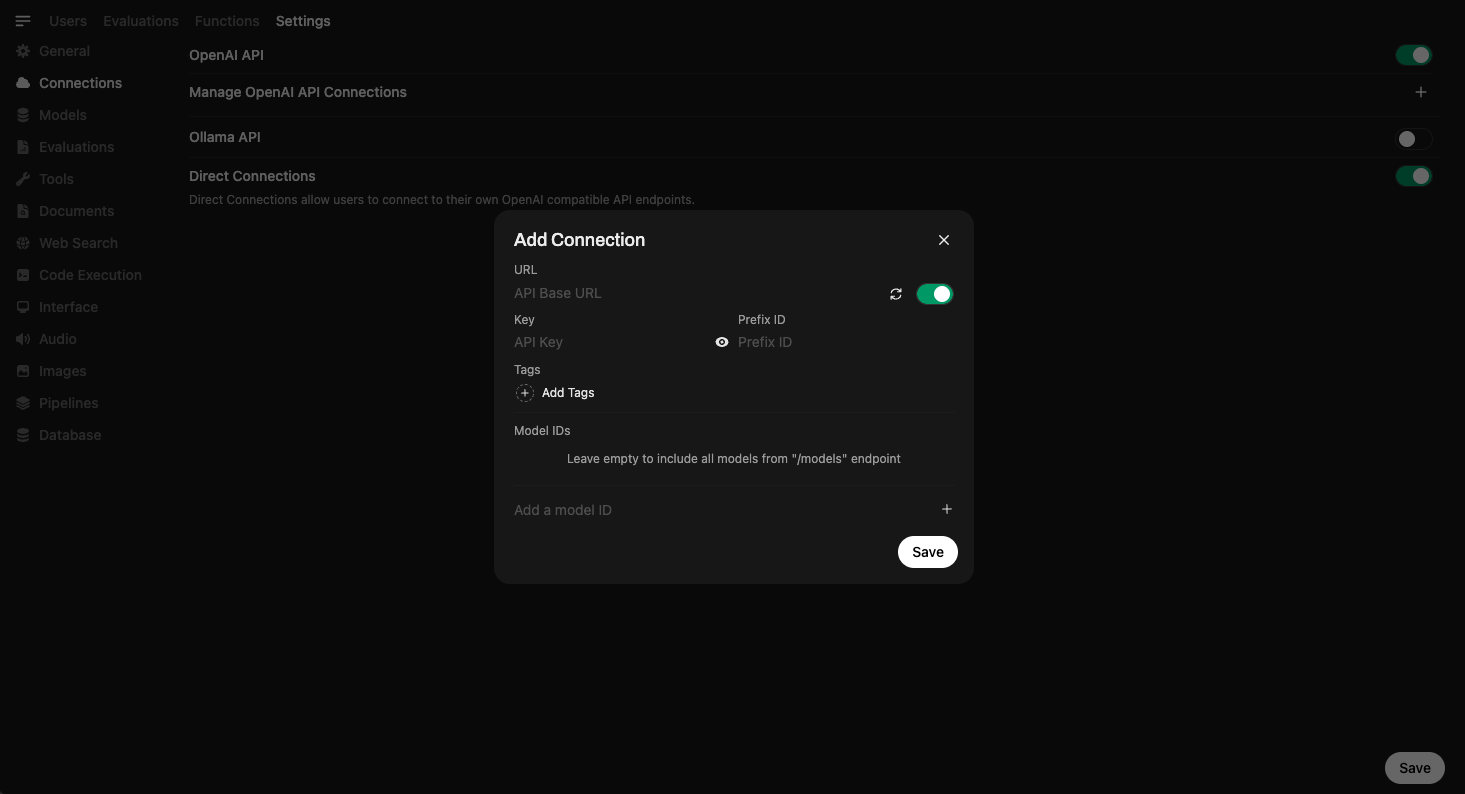
Fill in the following:
- API URL: https://api.openai.com/v1 (or the URL of your specific provider)
- API Key: Paste your key here
-
Click Save ✅.
This securely stores your credentials and sets up the connection.
Here’s what it looks like:
Step 3: Start Using Models
Once your connection is saved, you can start using models right inside Open WebUI.
🧠 You don’t need to download any models — just select one from the Model Selector and start chatting. If a model is supported by your provider, you’ll be able to use it instantly via their API.
Here’s what model selection looks like:
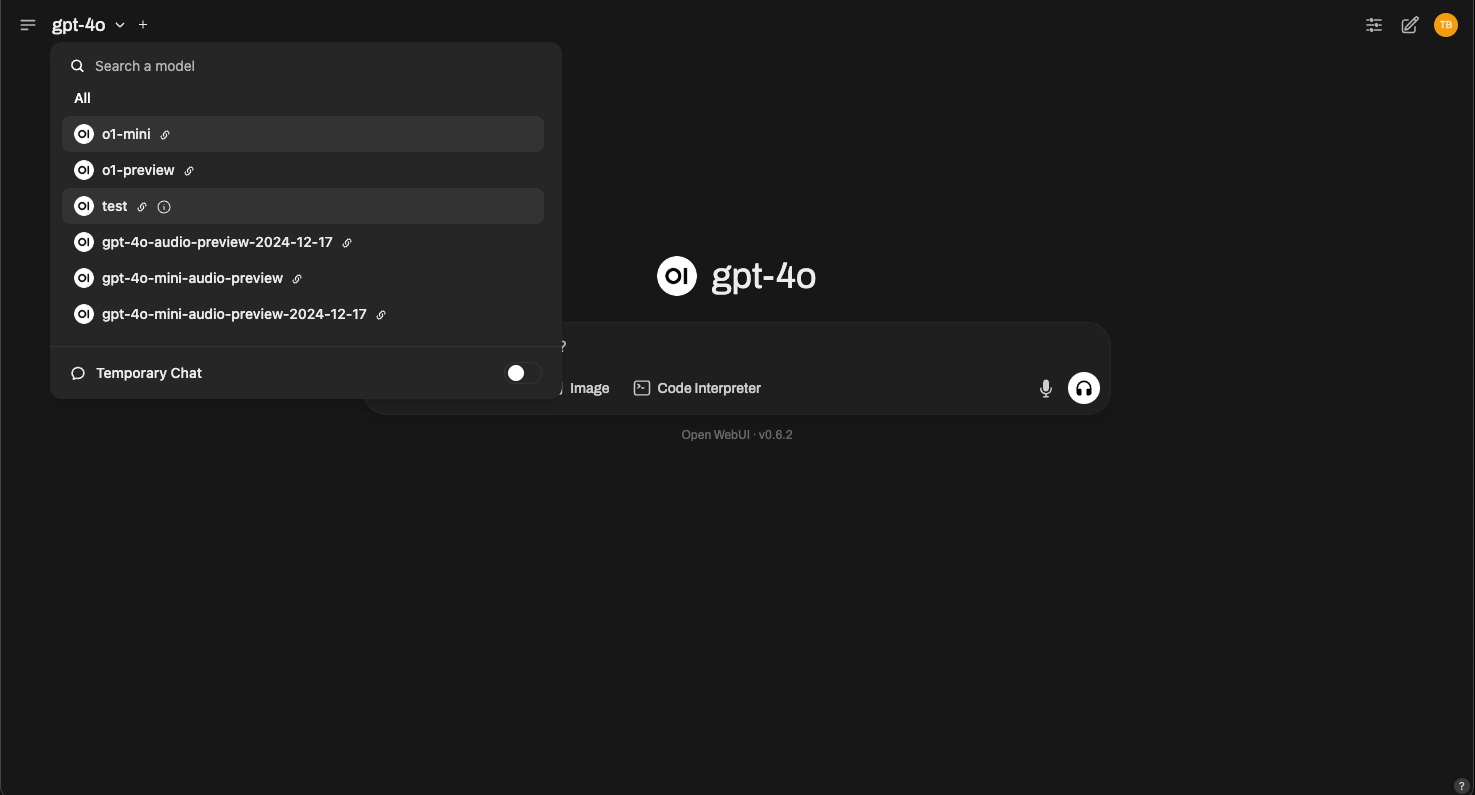
Simply choose GPT-4, o3-mini, or any compatible model offered by your provider.
All Set!
That’s it! Your OpenAI-compatible API connection is ready to use.
With Open WebUI and OpenAI, you get powerful language models, an intuitive interface, and instant access to chat capabilities — no setup headaches.
If you run into issues or need additional support, visit our help section.
Happy prompting! 🎉